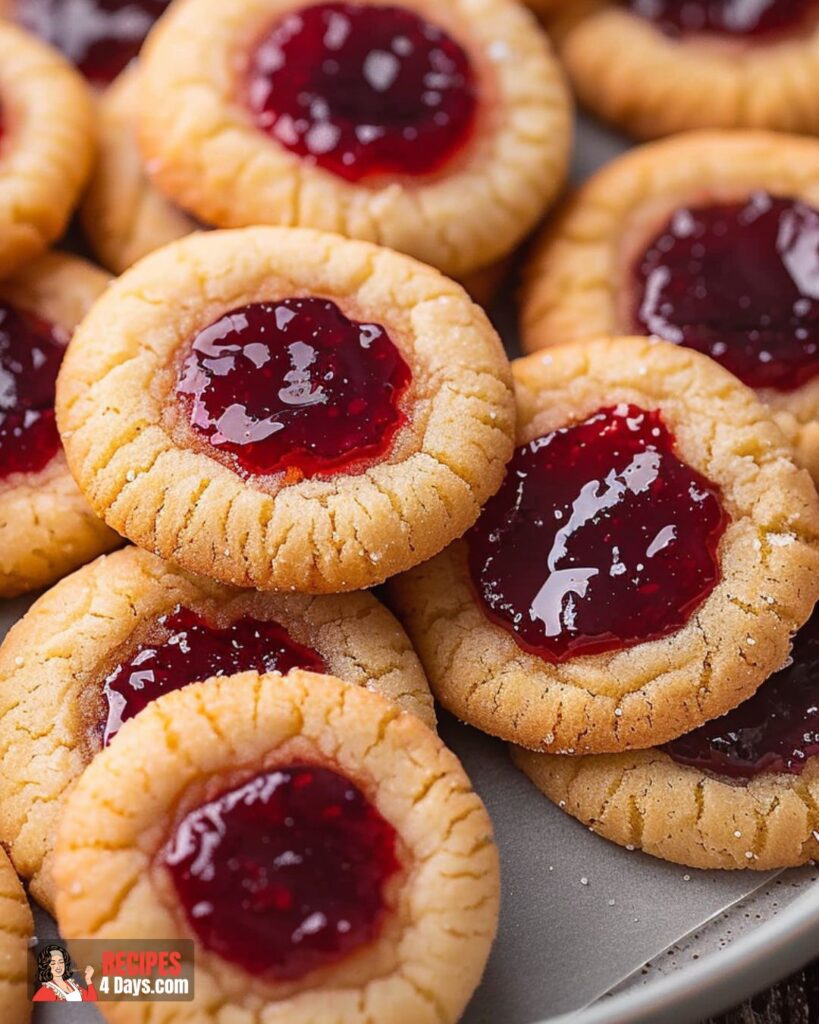
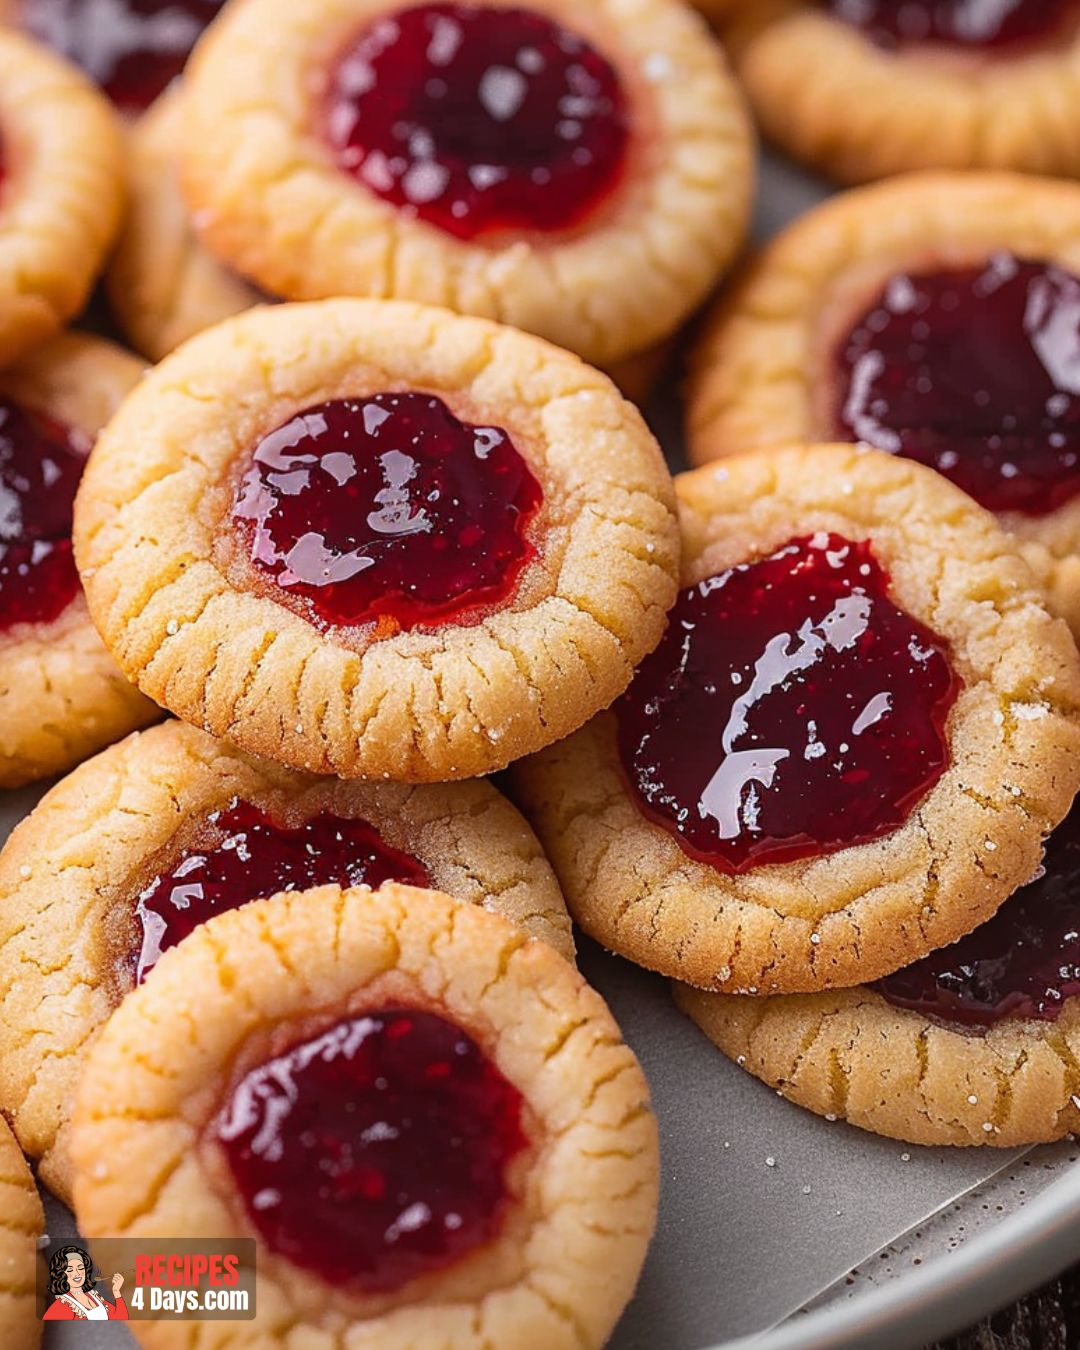
When I was little, my grandmother would always have a fresh batch of Jam Thumbprint Cookies waiting for us when we visited her house. The aroma of warm butter and sweet jam would greet us at the door, making us all rush to the kitchen before we even took off our coats. These delightful cookies have since become a cherished family tradition, bringing a sense of nostalgia and comfort every time I bake them.
One of the things I love most about Jam Thumbprint Cookies is their versatility. While raspberry jam is a classic choice, you can easily swap it out for your favorite flavor. Apricot, strawberry, or even a tangy blackberry jam can provide a unique twist on this beloved recipe. For an extra special touch, consider using homemade jam if you have some on hand. It adds a layer of depth and authenticity to the cookies that store-bought versions can’t quite match.
Another fun variation is to add a hint of citrus zest to the dough. Lemon or orange zest can elevate the flavor profile, adding a subtle brightness that pairs wonderfully with the sweet jam filling. If you’re feeling adventurous, you can even experiment with different extracts—almond or coconut extract can lend a deliciously unique taste to the cookies.
For those who enjoy a bit of texture, rolling the dough balls in finely chopped nuts before pressing your thumb into them can provide a delightful crunch. Chopped pecans, almonds, or hazelnuts are excellent choices that complement the soft, buttery cookie and sweet jam center.
These cookies are not only delicious but also incredibly easy to make. They’re perfect for baking with kids, as they can help with rolling the dough and pressing their little thumbs into the cookies. It’s a fun and interactive way to spend time together in the kitchen, creating memories that will last a lifetime.
Whether you stick to the traditional recipe or put your own spin on it, Jam Thumbprint Cookies are sure to be a hit with family and friends. They’re a timeless treat that brings warmth and joy to any occasion, from holiday gatherings to a simple afternoon snack. I hope you enjoy baking and sharing these cookies as much as my family and I do.
Preparing Jam Thumbprint Cookies
Click here to get printable version
Ingredients
- 1 cup salted butter
- 2 cups all-purpose flour, sifted
- ¾ cup any flavor seedless jam, raspberry suggested
- ⅔ cup granulated sugar
- 1 teaspoon vanilla extract
- ¼ teaspoon fine sea salt
Directions
- Set your oven to preheat at 375°F. Line two cookie sheets with parchment paper or silicone mats, then set aside.
- In a large mixing bowl, use a hand-held or standing mixer to cream the butter and sugar together until the mixture is fluffy and light. Be sure to occasionally scrape down the sides of the bowl.
- Mix in the vanilla extract until it is fully combined with the butter and sugar mixture.
- Gradually add in the sifted flour and sea salt. Beat the mixture on medium-high speed until the dough forms large crumbs that pinch together easily.
- Scoop out 1 tablespoon portions of the dough, rolling each portion into a ball with your hands.
- Arrange the dough balls on the prepared cookie sheets. Use your thumb to press a well into the center of each ball, slightly flattening the cookies in the process.
- Spoon approximately 1 teaspoon of jam into each well, ensuring the jam does not overflow.
- Bake the cookies for 10 to 13 minutes, or until the edges begin to turn a light golden brown.
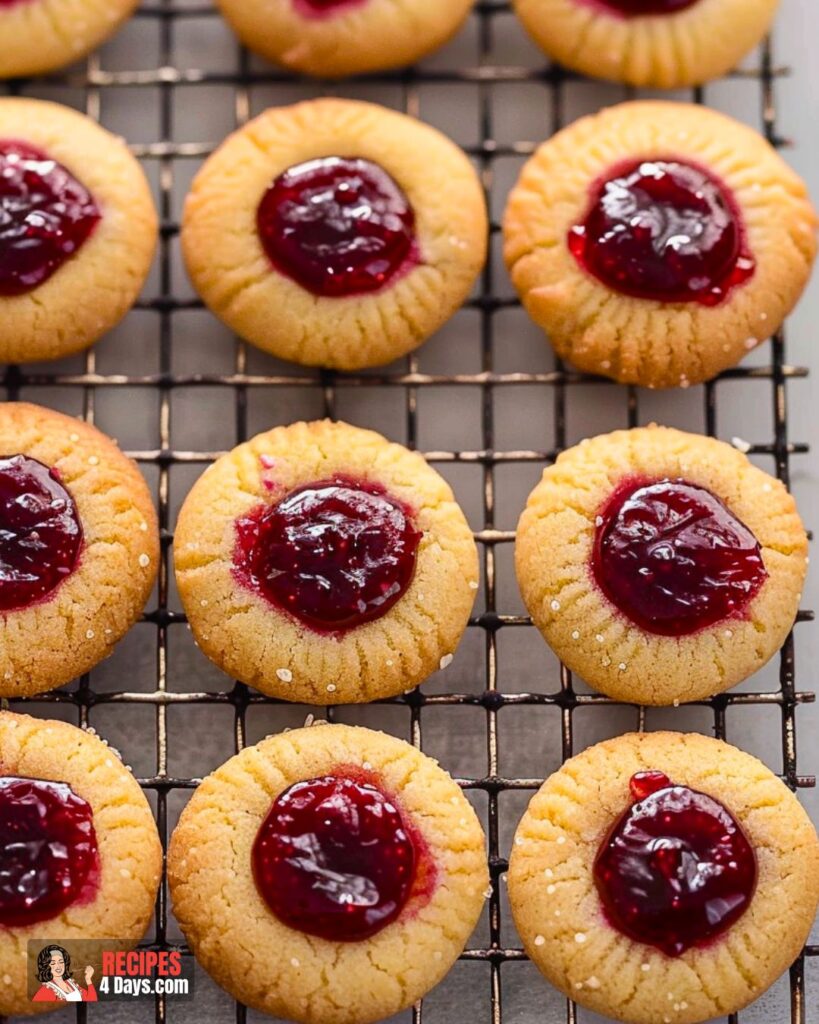
- Let the cookies cool on the baking sheet for about 10 minutes before moving them to a wire rack to cool completely. Enjoy the cookies either warm or fully cooled.
FAQs:
Can I use different types of jam for these cookies?
Yes, you can use any flavor of seedless jam you prefer. Popular choices include raspberry, apricot, and strawberry.
What if I don’t have parchment paper or silicone baking mats?
If you don’t have parchment paper or silicone mats, you can lightly grease the cookie sheets with butter or use a non-stick cooking spray.
Can I make the dough ahead of time?
Yes, you can prepare the dough ahead of time and refrigerate it for up to two days. When ready to bake, let the dough come to room temperature before forming the balls and baking.
How do I prevent the jam from overflowing during baking?
To prevent the jam from overflowing, be sure not to overfill the wells. One teaspoon of jam per cookie should be sufficient. Also, make a deep enough well so the jam has space to settle.
Can I freeze the cookies?
Yes, you can freeze the baked cookies. Place them in a single layer on a baking sheet to freeze initially, then transfer them to an airtight container or freezer bag. They can be frozen for up to three months.
What if my dough is too crumbly and won’t hold together?
If your dough is too crumbly, it might need more mixing. Ensure the butter is properly creamed with the sugar, and mix in the flour gradually. If it’s still too crumbly, you can add a small amount of milk or water to help it come together.
Jam Thumbprint Cookies
Ingredients
- 1 cup butter salted
- 2 cups sifted all-purpose flour
- ¾ cup seedless jam any flavor, raspberry preferred
- ⅔ cup sugar granulated
- 1 teaspoon extract vanilla
- ¼ teaspoon salt fine sea
Instructions
- Preheat the oven to 375°F. Prepare two cookie sheets with parchment paper or silicone baking mats and set them aside.
- Using a standing mixer or a hand-held mixer in a large bowl, cream together the butter and sugar until the mixture is light and fluffy. Pause to scrape down the sides as needed.
- Add the vanilla extract and mix until combined.
- Gradually add the sifted flour and fine sea salt, beating on medium-high speed until the dough forms large crumbs and easily pinches together.
- Measure out 1 tablespoon portions of dough, rolling each into a ball.
- Place the dough balls on the prepared cookie sheets, then press your thumb into the center of each ball to create a well and slightly flatten the cookies.
- Fill each well with about 1 teaspoon of jam, ensuring it doesn’t overflow.
- Bake the cookies for 10 to 13 minutes, until the edges just start to turn golden brown.
- Allow the cookies to cool on the pan for 10 minutes before transferring them to a wire rack to cool completely. Enjoy them warm or fully cooled.