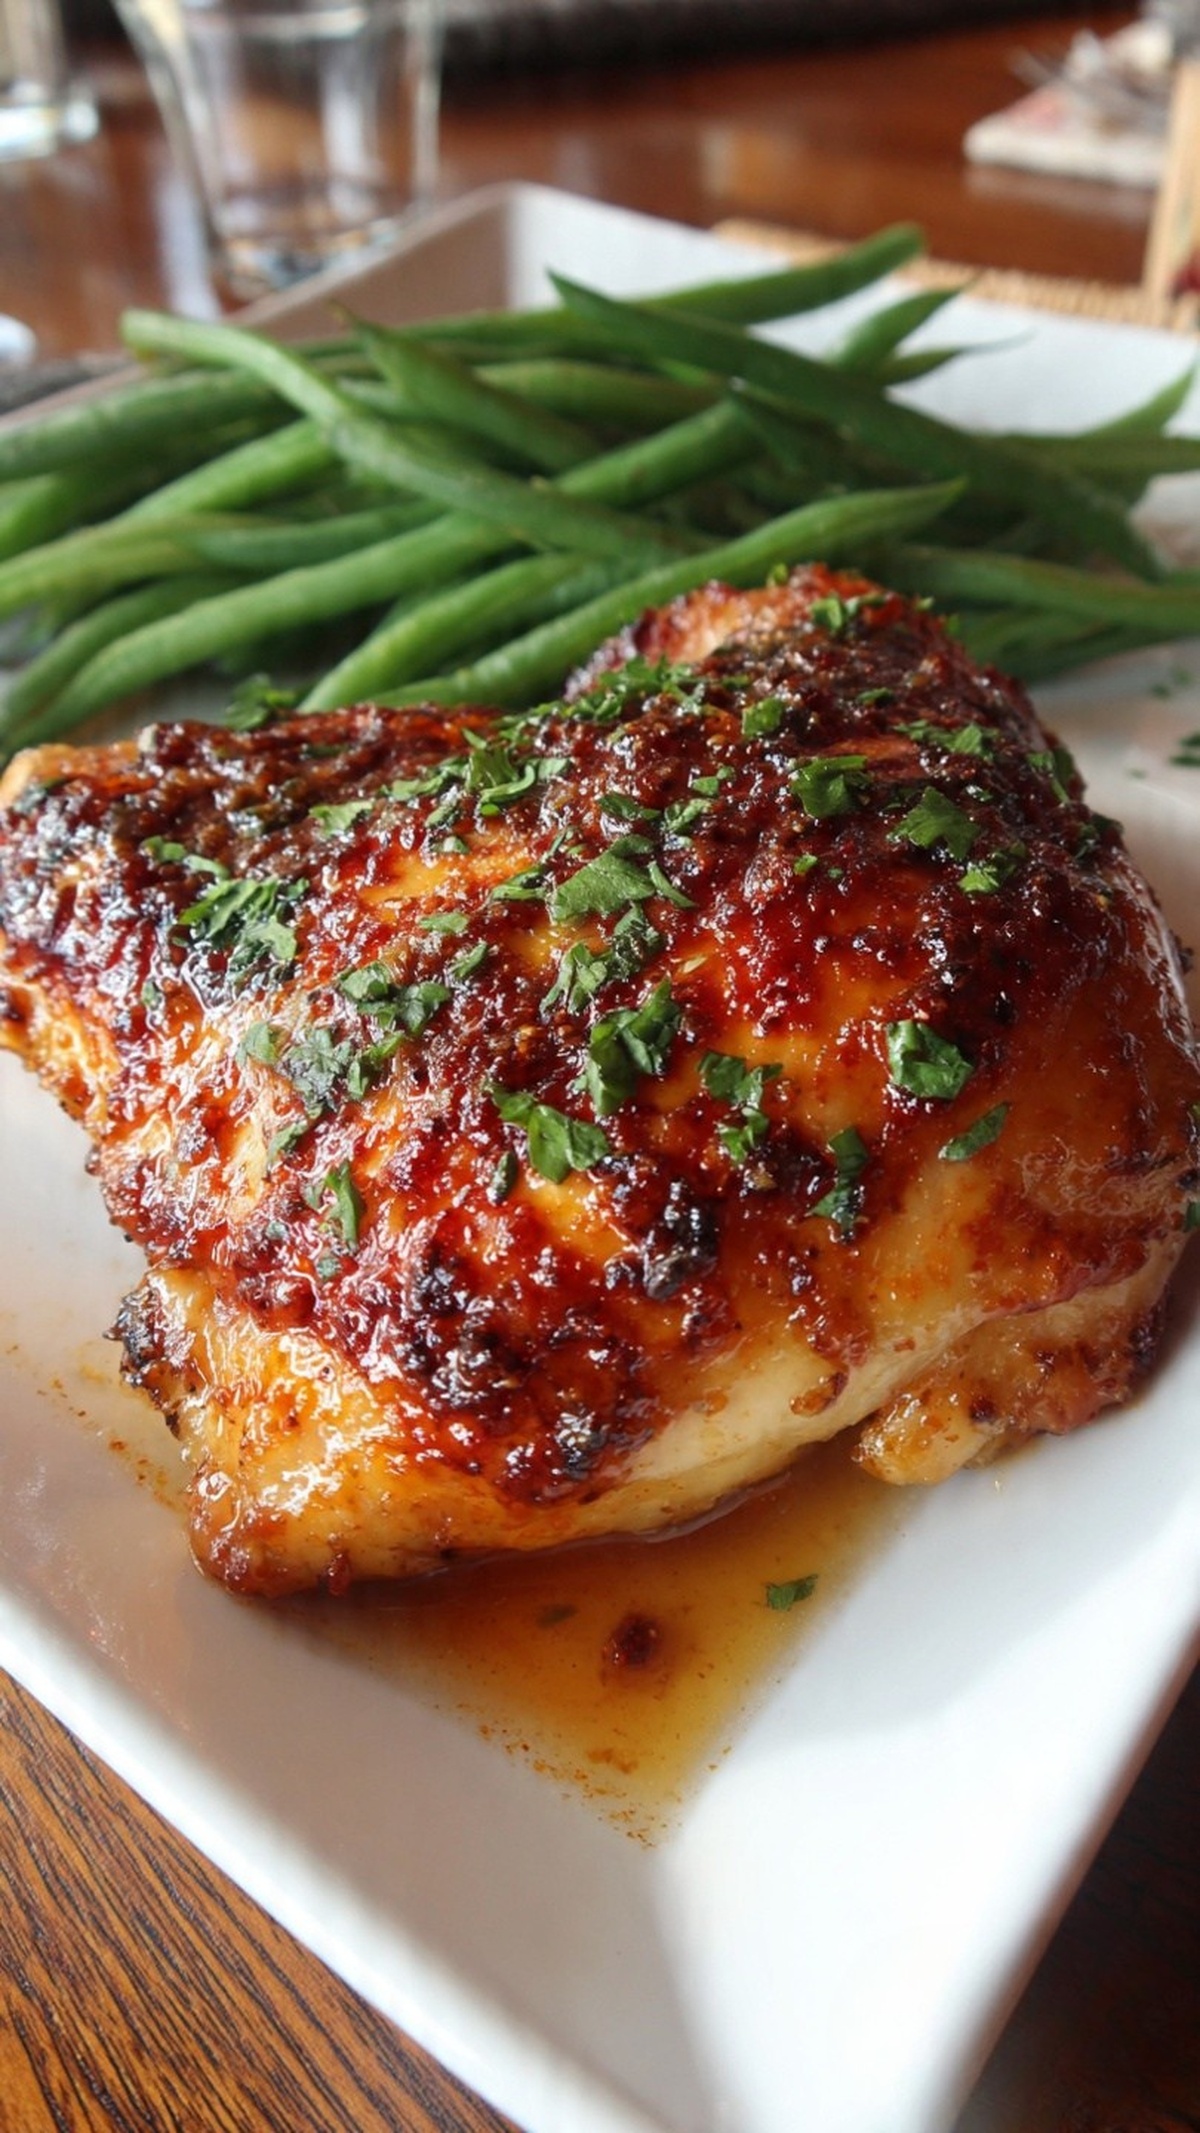
Honey garlic chicken is one of those recipes I reach for when I want real flavor without juggling three pans and twenty ingredients. It leans on simple pantry staples, but the star here is definitely the honey. Good honey doesn’t just make the dish sweet; it gives the sauce body, helps it cling to the chicken, and caramelizes around the edges so you get those sticky, deeply browned bits on the pan.
I like this version because it stays practical. Everything happens in one ovenproof skillet, and the same honey-garlic sauce that coats the chicken also seeps into the green beans. If you’re used to dry baked chicken or bland sheet-pan dinners, this fixes both problems: the skin gets crisp from searing first, and the honey-based sauce keeps the meat moist in the oven.
You don’t need fancy equipment, and you can easily scale this up or down. As long as you start with bone-in, skin-on thighs and a flavorful honey, the rest is very forgiving. It’s weeknight-friendly, but still feels like something you’d serve when you want dinner to taste intentional rather than thrown together at the last minute.
All About Honey Garlic Chicken
Click here to get printable version
The Essentials
- 6 bone-in, skin-on chicken thighs
- Salt, to taste
- Pepper, to taste
- 1 tablespoon unsalted butter
- 3 cloves garlic, minced (use more if you like a stronger garlic flavor)
- 1 tablespoon brown sugar
- 1/4 cup honey
- 1 teaspoon dried thyme
- 1 teaspoon dried oregano
- 1 lb green beans, whole
The Method
- Preheat your oven to 400°F (200°C). Using a hot oven is important here because it helps the chicken finish cooking quickly while the skin stays relatively crisp and the honey caramelizes instead of turning watery.
- Pat the chicken thighs dry with paper towels, then season both sides generously with salt and pepper. Dry skin sears better, so don’t skip this step; moisture on the surface will fight against browning in the pan.
- Place a large ovenproof skillet over medium heat and add the butter. Once the butter is melted and lightly foaming, lay the chicken in skin-side down. Let it sear without moving it for several minutes, until the skin is deeply golden and crisp, then flip and brown the second side. Take your time; proper searing should take about 6–8 minutes total, not a quick flip.
- Transfer the browned chicken to a plate. Carefully pour off most of the rendered fat from the skillet, leaving about 1–2 tablespoons behind. You want enough to carry flavor and prevent sticking, but not so much that the sauce turns greasy.
- Reduce the heat to low-medium. Add the minced garlic to the skillet and cook, stirring frequently, just until fragrant, about 30–60 seconds. Do not let the garlic brown deeply or it will taste bitter instead of pleasantly savory.
- Stir in the brown sugar, honey, dried thyme, and dried oregano. Cook the mixture for 1–2 minutes, stirring, until the sugar has dissolved and the sauce looks smooth and slightly thick. At this point it should coat the back of a spoon and look glossy rather than runny.
- Return the chicken thighs to the skillet, turning them to coat thoroughly in the honey garlic sauce. Arrange them skin-side up so the skin is exposed to the oven heat; this helps maintain texture while the underside absorbs the sauce.
- Scatter the green beans around the chicken in an even layer, tossing them lightly in the sauce so they’re lightly coated. Try not to fully cover the chicken skin with beans, or the skin will steam instead of roast.
- Transfer the skillet to the preheated oven and bake for about 25 minutes, or until the chicken is cooked through. The internal temperature should reach at least 165°F (74°C) at the thickest part. The sauce will be bubbling and slightly more reduced, and the green beans should be crisp-tender.
- Let the chicken rest in the pan for 5 minutes before serving. This short rest allows the juices to redistribute and the sauce to thicken slightly, so it clings better when you spoon it over the chicken and beans.
Getting Extra-Crispy Skin
If crispy skin is a priority, start by making sure the thighs are very dry—pat them with paper towels and even let them air-dry in the fridge, uncovered, for 30–60 minutes if you have time. Moisture is the main enemy of crispness. When you sear, use medium heat and don’t overcrowd the pan; crowding drops the temperature and causes steaming. Leave the thighs skin-side down until the edges look deeply golden and you see rendered fat pooling in the pan. In the oven, keep the skin exposed and avoid letting sauce or vegetables sit directly on top of it. If it needs a final boost, you can broil the chicken for 1–2 minutes at the end, watching closely so the honey in the sauce doesn’t burn.
Balancing Sweet and Savory
The main lever in this recipe is the honey, so adjusting sweetness is straightforward. If you prefer a less sweet result, reduce the honey slightly and keep the salt level firm—under-salting will make the dish taste flat and overly sugary. You can also use a darker honey for a more robust flavor that reads less like dessert. For extra savory depth, add a splash of soy sauce or a small squeeze of lemon juice to the sauce; soy increases umami and salt, while lemon brightens everything and cuts through richness. Taste the sauce before the chicken goes back in: it should be balanced enough that you’d happily eat a spoonful on its own.
Veggie Swaps and Add-Ins
Green beans work well because they cook quickly and hold a bit of snap, but you can easily rotate in other vegetables. Thicker vegetables like carrots or potatoes should be cut smaller and started in the pan or oven a bit earlier, since they take longer to soften. Faster-cooking options like asparagus, snap peas, or thinly sliced bell peppers can go in at the same time as the beans, or even halfway through the baking time if you like them crisper. Just remember: firmer vegetables need more time and often smaller pieces. Keep everything in a single, not-too-thick layer so the vegetables roast and caramelize in the sauce instead of steaming.
Recipe Help: Frequently Asked Questions
Can I use boneless, skinless chicken instead of bone-in, skin-on thighs?
You can use boneless, skinless chicken, but you’ll need to adjust both the searing and baking times. Without skin, the chicken will brown more quickly, so watch closely during searing and lower the heat if it darkens too fast. In the oven, boneless pieces usually cook in 15–20 minutes depending on size. Because you lose the protective layer of skin and bone, it’s easier to overcook, so use a thermometer and pull the chicken as soon as it hits 165°F (74°C). Expect a little less richness and crispness compared to the original version.
Why is my honey garlic sauce thin after baking, and how can I thicken it?
If your sauce is thin, it usually means there was extra liquid in the pan—either from the chicken releasing juices, vegetables overcrowding and steaming, or the sauce not being reduced enough before the oven. To fix it, remove the cooked chicken and beans to a plate, then simmer the sauce on the stovetop over medium heat for a few minutes. Stir frequently until it reduces and lightly coats the back of a spoon. If needed, a very small cornstarch slurry (about 1 teaspoon cornstarch mixed with 2 teaspoons water) can help, but add it gradually so the sauce doesn’t become gluey.
How can I prevent the garlic from burning in the skillet?
Burnt garlic turns bitter very quickly, so timing and heat control are key. Always add the garlic after you’ve poured off the excess fat and lowered the heat to low or low-medium. Stir constantly and cook only until it smells fragrant, which usually takes 30–60 seconds. If the pan is still too hot from searing, quickly slide it off the burner for a moment before adding garlic, or add a small splash of water to cool it slightly. Once you stir in the honey and other ingredients, the added liquid protects the garlic from direct heat and helps prevent burning.
Can I make this recipe ahead of time or use it for meal prep?
This dish works for meal prep, but you’ll sacrifice some crispness in the skin. For best results, cook the recipe fully, then cool everything quickly and store the chicken and vegetables with the sauce in airtight containers in the fridge for up to 3–4 days. Reheat gently in a covered skillet over medium-low heat, adding a splash of water if the sauce seems too thick. Avoid microwaving on high for too long, as it can toughen the chicken. If you want to serve it to guests, cook the chicken and sauce ahead, then reheat in the oven at 350°F (175°C) until hot, finishing with a brief broil to refresh some surface texture.
One-Pan Honey Garlic Chicken
Equipment
- Ovenproof skillet
Ingredients
- 6 pieces bone-in, skin-on chicken thighs
- salt to taste
- black pepper to taste
- 1 tablespoon unsalted butter
- 3 cloves garlic minced (add more if you like)
- 1 tablespoon brown sugar
- 1/4 cup honey
- 1 teaspoon dried thyme
- 1 teaspoon dried oregano
- 1 pound green beans whole
Instructions
- Heat the oven to 400°F (200°C) and position a rack in the center.
- Pat the chicken dry with paper towels and season both sides generously with salt and black pepper.
- Place an ovenproof skillet over medium heat and melt the butter. When hot, add the chicken thighs skin-side down and sear until the skin is deeply golden and crisp, then flip and brown the other side. Work in batches if needed to avoid crowding.
- Remove the chicken to a plate and carefully pour off most of the rendered fat from the skillet, leaving a small amount to carry flavor.
- Add the minced garlic to the skillet and cook briefly until fragrant, about 30–45 seconds. Stir in the brown sugar, honey, dried thyme, and dried oregano, then reduce the heat to low and stir until the sauce is smooth and warmed through.
- Return the seared chicken to the skillet, spooning sauce over each piece so they are well coated.
- Nestle the green beans around the chicken in a single layer so they roast alongside the thighs.
- Slide the skillet into the preheated oven and roast for about 25 minutes, or until the chicken reaches 165°F (74°C) and juices run clear. Remove from the oven and let rest a few minutes before serving.