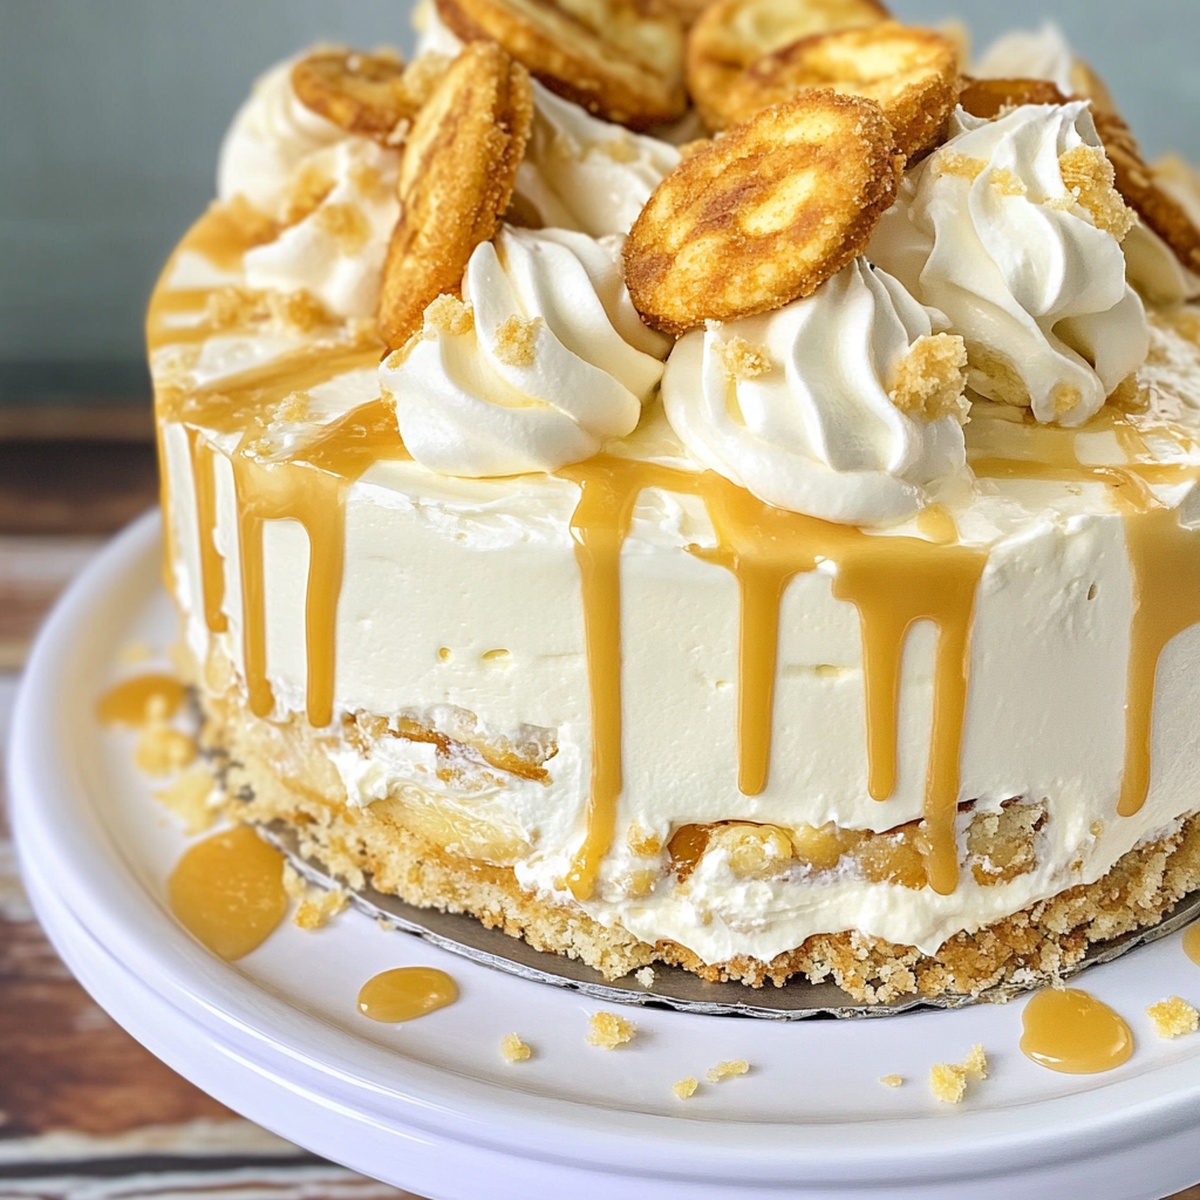
When I make this Banana Pudding Cake, I’m really focused on one thing: controlling the layers. It’s a simple recipe on paper—boxed French vanilla cake, quick banana pudding, basic vanilla frosting—but the difference between a clean, impressive slice and a sliding mess comes down to how you build and support those layers.
The main technique here is using a frosting “dam” to hold the banana pudding in place. It’s the same idea bakeries rely on for softer fillings. You pipe a firm ring of buttercream around the edge of each cake layer, then spoon or pipe the pudding into the center. That one step means you can use a generous amount of creamy filling without it oozing out the sides or making the cake unstable. If you’ve ever watched a cake slowly drift apart in the fridge, this solves that problem.
This recipe is also practical for busy or budget-minded baking. We’re not making cake from scratch; we’re taking cake mix and improving the structure with eggs and proper cooling. We’re using instant banana pudding and cream cheese to get a thick, stable filling that still tastes like banana pudding, just more suited to layering. Nothing here is fussy, but paying attention to texture at each stage matters: cake baked fully and cooled, pudding thick but still spreadable, frosting whipped until it can hold clean peaks.
If you’re new to layer cakes, this is a good one to practice on. The flavors are familiar, the ingredients are mostly pantry and freezer staples, and there’s plenty of room for small imperfections under the caramel drip and Nilla wafers. Once you’re comfortable with the dam-and-fill method and stacking three layers, you can apply the same approach to almost any filled cake. It’s the kind of technique you learn once and use for years.
Quick Guide to Banana Pudding Cake
Click here to get printable version
What You’ll Need
- 2 boxes French vanilla cake mix
- 6 large eggs
- 2 cups water
- 1 cup oil
- 2 cups toasted coconut
- 1 bottle caramel sauce
- Nilla wafer cookies (for topping)
- 1 (3.4 oz) box instant banana pudding mix
- 2 cups cold milk
- 1 can sweetened condensed milk
- 1 (8 oz) package cream cheese, softened
- 1 container Cool Whip (thawed)
- 3 cups unsalted sweet cream butter, softened
- 6 cups powdered sugar
- 3 teaspoons pure vanilla extract
- 5–7 tablespoons heavy whipping cream
Mindful Prep, Step by Step
- Preheat your oven to 350°F (175°C). Lightly spray three round cake pans with baking spray, making sure you cover the bottom and sides so the cakes release cleanly.
- Prepare the cake batter according to the box instructions, using the listed eggs, water, and oil. Mix just until everything is combined and smooth; don’t overbeat or the cake can bake up tough.
- Divide the batter as evenly as you can between the three pans. The layers should be roughly the same height so the finished cake stacks straight.
- Bake for 25–30 minutes, or until a toothpick inserted in the center of each cake comes out clean or with a few moist crumbs. If there’s wet batter, give it a few more minutes and check again.
- Let the cakes cool in their pans for about 10 minutes, then turn them out onto wire racks and cool completely. Do not level or stack warm cake or it will crumble and the filling can melt.
- Once fully cooled, use a cake leveler or a long serrated knife to slice off any domed tops. You want flat, even surfaces so the layers sit securely.
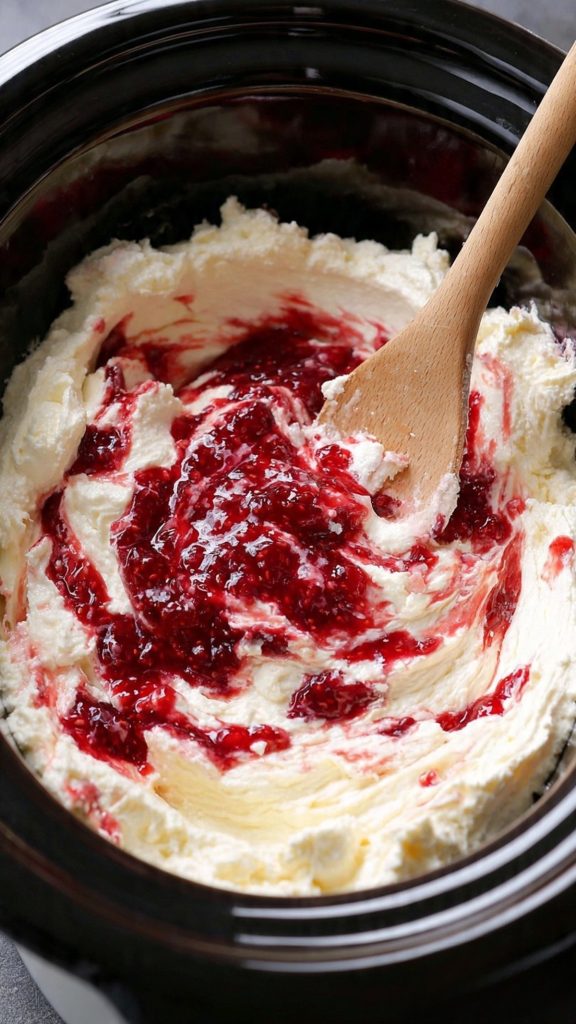
- For the banana pudding filling, add the instant banana pudding mix and cold milk to a large mixing bowl. Beat for about 5 minutes, until it thickens and looks smooth and glossy.
- Mix in the sweetened condensed milk until there are no streaks. Then blend in the softened cream cheese until the mixture is completely smooth. Scrape the bowl as needed so no lumps remain.
- Gently fold in the Cool Whip until fully combined. The pudding should be thick but still pipeable. Transfer it to a piping bag and set aside in the fridge if your kitchen is warm.
- For the frosting, add the softened butter, powdered sugar, vanilla extract, and 5 tablespoons of heavy cream to a stand mixer bowl. Beat on low to combine, then increase to medium-high and mix until creamy and fluffy, 3–5 minutes. Add up to 2 more tablespoons cream if needed for a smooth but sturdy piping consistency.
- Scoop some frosting into a piping bag fitted with a round or star tip. This will be your “dam” and your decoration later.
- To build the cake, place one cake layer on a cake board or serving plate. Pipe a thick ring of frosting around the outer edge of the layer. This barrier should be at least 1/2 inch tall and fairly firm.
- Pipe or spoon banana pudding into the center of the ring, spreading it gently to fill the space without going over the frosting dam.
- Set the second cake layer on top, lining it up carefully. Press lightly to secure it, then repeat the frosting dam and pudding filling process.
- Place the third cake layer on top. Use the remaining frosting to crumb-coat the whole cake (a thin layer to catch crumbs), then apply a second, thicker coat and smooth it with an offset spatula or scraper.
- Press toasted coconut gently around the bottom edge of the cake while the frosting is still soft, creating a neat band of coconut.
- Pour the caramel sauce into a squeeze bottle if it isn’t already in one. Carefully squeeze small amounts around the top edge of the cake so it drips down the sides. Go slowly so the drips don’t run all the way to the bottom.
- Use the remaining frosting in your piping bag to pipe dollops or rosettes around the top edge of the cake.
- Sprinkle more toasted coconut over the top, then press a Nilla wafer into each frosting dollop.
- Chill the cake in the fridge for at least 1 hour to let the frosting firm up. This makes slicing cleaner and helps the layers stay put when you serve.
Nailing That Dreamy Banana Pudding Filling
The banana pudding filling has to be thick enough to stay in place but still soft and creamy. Start with cold milk and instant pudding mix; cold liquid activates instant pudding properly and helps it set fast. Beat the mixture long enough to thicken—about 5 minutes—so it’s closer to spoonable custard than runny sauce. When you add the sweetened condensed milk and cream cheese, blend thoroughly to get a smooth, lump-free base. Folding in the Cool Whip gently keeps some air in the filling and lightens the texture. If it ever feels too loose, chill it for 15–20 minutes before piping. Taking the time to reach the right consistency is what makes the cake stable and keeps the banana flavor from getting lost.
Getting Stable, Sky-High Vanilla Cake Layers
Because this cake has three layers and a soft filling, structure matters. Bake the boxed French vanilla cakes fully—the tops should spring back when gently pressed, and a toothpick should come out mostly clean. Cool the layers completely before leveling; warm cake tears easily and can tilt once stacked. Leveling is more than cosmetic; flat surfaces mean the weight of the cake is spread evenly, so the filling doesn’t squeeze out under pressure. If your kitchen is warm or the cakes feel very soft, you can even chill the layers for 20–30 minutes before stacking. This small step gives you tall, bakery-style layers that slice neatly instead of slumping.
Toasted Coconut Crunch Meets Caramel Drip
The toasted coconut and caramel drip add texture and flavor without much effort. If you’re starting with untoasted coconut, spread it in a thin layer on a baking sheet and toast at 325°F, stirring every few minutes, until it’s light golden. Pull it as soon as it colors; it can burn quickly. Pressing the coconut into the bottom edge of still-soft frosting gives a clean band of crunch and helps hide any rough spots in your crumb coat. For the caramel drip, work with slightly warmed but not hot caramel. Test a small drip on the back side of the cake—if it races down, let the caramel cool a bit. Controlled drips paired with coconut give a polished look with minimal decorating skills required.
Keeping the Pudding From Oozing Out
The frosting dam is your main tool for keeping the banana pudding inside the cake. Use frosting that holds its shape—a bit thicker than you’d use for a smooth final coat. Pipe a continuous ring right at the edge of the layer, with no gaps where filling could escape. Don’t overfill the center; the pudding should sit just below the top of the dam so it doesn’t spill when you add the next layer. As you stack, press each cake layer down gently and evenly rather than pushing hard in the middle. Chilling the filled but unfrosted stack for 20–30 minutes before the final coat can also help everything firm up and stay put.
Fun Spins on Nilla Wafer Topping
Nilla wafers are classic for banana pudding, but you can easily customize the topping while still using budget-friendly pantry items. Crush some of the wafers and mix them with a bit of toasted coconut for a crumbly sprinkle over the top. You can also dip the cookies halfway in leftover caramel, let them set, and then stand them in the frosting dollops for a “decorated” look without extra tools. For a stronger banana note, layer a few crushed wafers just under the top frosting before adding coconut and caramel. If you’re working with partial boxes or broken cookies, use the neat ones for the outer ring and the crumbs to fill gaps—nothing goes to waste.
FAQ: All You Need to Know
Can I make this Banana Pudding Cake ahead of time without it getting soggy?
Yes, you can assemble this cake up to 24 hours in advance if you handle moisture carefully. The key is keeping the pudding thick and the cake fully baked and cooled. Because the filling is stabilized with cream cheese and instant pudding, it doesn’t soak into the cake as fast as regular custard. Chill the finished cake and keep it covered to prevent drying. If you need more time, bake the cake layers and make the pudding the day before, then assemble the next day so the texture stays fresh.
What if I don’t have three matching cake pans?
You can still make the recipe with fewer pans; you just need to adjust your process. If you have two pans, bake two layers first, let them cool a few minutes, then release, wash, and reuse one pan for the third layer. Keep leftover batter covered on the counter while the first batch bakes. Don’t overfill any single pan; the batter should be no more than about two-thirds full. If you only have one pan, bake the layers one at a time, shortening the bake time slightly for the smaller amounts.
How do I keep the buttercream from tasting too sweet with all the other sugary elements?
With boxed cake, pudding, and caramel, sweetness can stack up quickly. To balance the buttercream, make sure you use unsalted butter and add a pinch of salt to the frosting. You can also reduce the powdered sugar slightly and use more heavy cream to keep it smooth but less intense. Taste as you go and adjust with a bit more vanilla and salt if needed. Chilling the cake also softens the sweetness because cold desserts often taste slightly less sweet on the palate.
Can I use homemade whipped cream instead of Cool Whip in the pudding?
You can, but you’ll need to stabilize it so the filling doesn’t deflate. Whip cold heavy cream with a bit of powdered sugar and a small amount of instant pudding mix or unflavored gelatin dissolved in warm water. This gives it structure closer to Cool Whip. Fold it gently into the pudding base just before assembling. Keep the filling chilled and avoid leaving the cake at room temperature for long, since fresh whipped cream is less stable over time than store-bought topping.
What’s the best way to slice clean pieces without squashing the layers?
Clean slices come from a firm, chilled cake and a sharp knife. Refrigerate the cake for at least an hour, longer if possible, so the frosting and pudding set. Use a long, sharp chef’s knife or serrated knife, and wipe the blade clean with a warm, damp cloth between cuts. Press down gently in a straight motion rather than sawing aggressively. If you find the top decorations dragging, remove a few Nilla wafers where you plan to cut, then place them back on individual slices for serving.
How should I store leftovers, and how long will they keep?
Leftover Banana Pudding Cake should be stored in the refrigerator because of the dairy in the filling and frosting. Cover the cut side tightly with plastic wrap or use a cake container to prevent the cake from drying out and absorbing fridge odors. Properly covered, it will keep for about 3–4 days. Over time, the Nilla wafers will soften, which many people enjoy. If you want to keep some crunch, store extra wafers separately and add them fresh to each slice just before serving.
Banana Pudding Cake
Equipment
- mixing bowl
- standing mixer
- three 8- or 9-inch cake pans
- Cake leveler or serrated knife
- Piping bags
- squeeze bottle
Ingredients
Cake:
- 2 boxes French vanilla cake mix
- 6 eggs eggs
- 2 cups water
- 1 cup oil
Banana Pudding:
- 1 3.4 oz box instant banana pudding mix
- 2 cups milk
- 1 can sweetened condensed milk
- 1 8-ounce package cream cheese softened
- 1 container Cool Whip
Frosting (Vanilla Buttercream):
- 3 cups unsalted sweet cream butter softened
- 6 cups powdered sugar
- 3 teaspoons pure vanilla extract
- 5-7 tablespoons heavy whipping cream
Topping & Assembly:
- 2 cups toasted coconut
- 1 bottle caramel sauce
- Nilla wafer cookies
Instructions
- Preheat the oven to 350°F and spray three cake pans with nonstick baking spray.
For the Cake:
- Prepare the cake batter following the directions printed on the back of the French vanilla cake mix boxes, combining eggs, water, and oil as instructed.
- Evenly divide the batter among the three prepared pans and bake until a toothpick inserted in the center comes out clean, about 25–30 minutes.
- Remove the cakes from the oven and let them cool completely on a rack. Once cool, level the domed tops with a cake leveler or serrated knife so each layer is flat.
For the Banana Pudding:
- In a large bowl, beat the instant banana pudding mix with the milk until thickened, about 4–6 minutes, until smooth and creamy.
- Stir in the sweetened condensed milk until fully incorporated, then beat in the softened cream cheese until the mixture is silky.
- Gently fold in the Cool Whip until the pudding is light and evenly blended; transfer the filling to a piping bag for easier assembly.
For the Frosting:
- Using a standing mixer, beat the softened butter until creamy. Gradually add powdered sugar, then vanilla and heavy cream, and continue beating until the buttercream is smooth and holds stiff peaks.
- Spoon the finished frosting into a separate piping bag and set aside.
Assembly:
- Place one leveled cake layer on your cake board. Pipe a thick ring of buttercream around the edge to create a barrier that will hold the pudding filling in place.
- Fill the center with the banana pudding from the piping bag, smoothing the top lightly without letting it touch the buttercream rim.
- Set the second cake layer on top and repeat the buttercream barrier and pudding fill. Top with the third layer and spread or pipe the remaining frosting to cover the whole cake.
- Press toasted coconut around the base of the frosted cake to adhere to the buttercream.
- Pour caramel sauce into a squeeze bottle and drizzle it along the top edge so it runs down the sides for a decorative drip effect.
- Pipe even dollops of frosting around the cake top, sprinkle with additional toasted coconut, and press a Nilla wafer into each dollop.
- Refrigerate the finished cake for about 1 hour to firm the frosting before slicing and serving.